
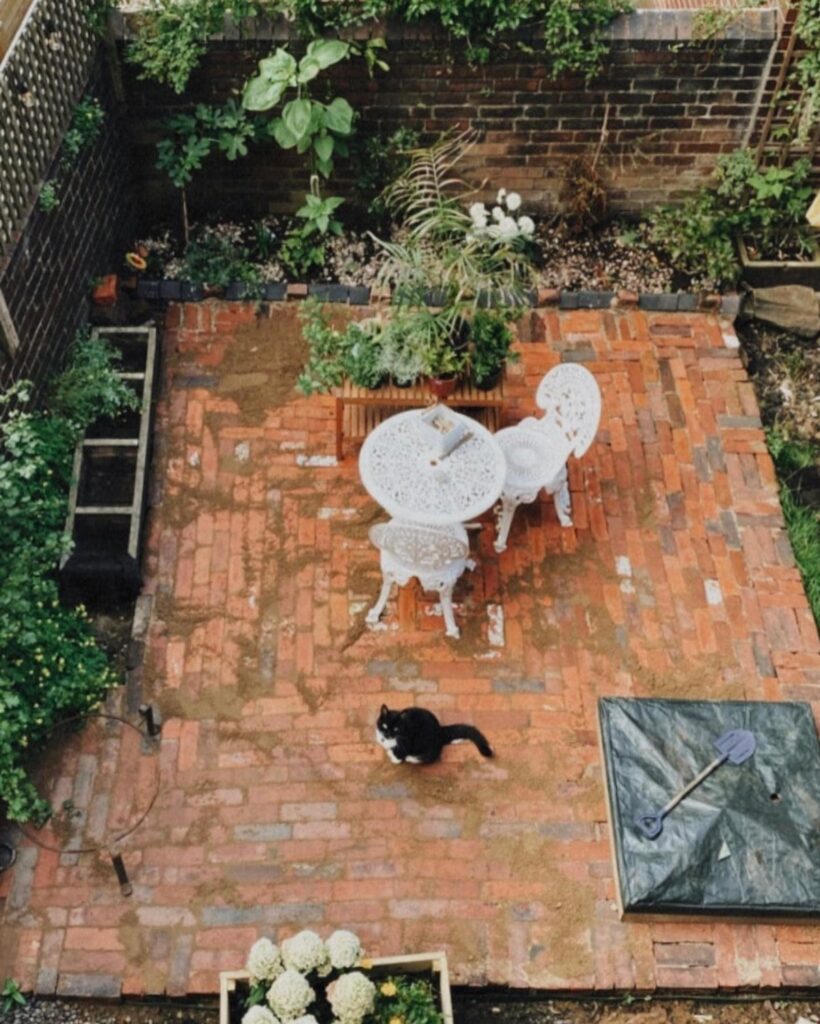
These cheap backyard patio ideas run from a single Saturday with stepping stones to a full season of weekend work with a fire pit, and the deciding factor is how much of the labor you want to spend on preparation versus upkeep.
I would decide that before I pick up a shovel, because a load of pea gravel reads as finished only if I also buy edging to hold it, and a free wooden pallet patio costs me that back in sanding and sealing time.
The one detail that stays with me is the heat-treatment mark: HT on a pallet means it is safe to use, and MB means it is poisoned and goes straight back to the discard pile.
[link-whisper-related-posts]1. DIY Pea Gravel Patio
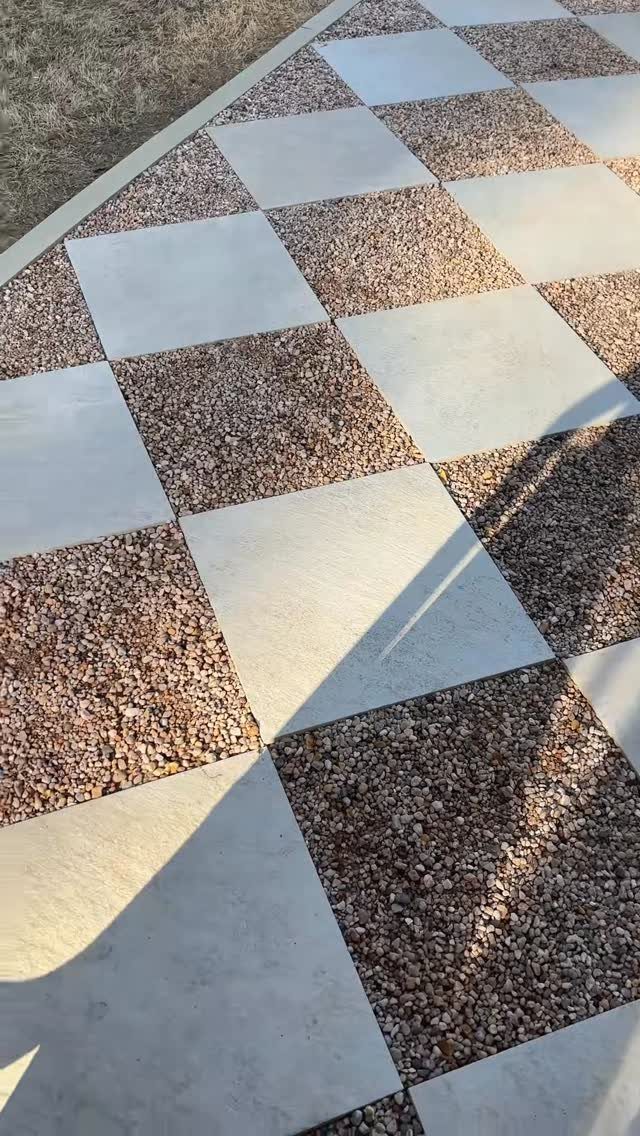
Checkerboard patios with alternating paver and gravel squares give you a finished look without the cost of full stone coverage.
The pea gravel fills the gaps, drains well, and shifts underfoot, so I would edge the whole area with timber or metal to keep everything in place.
You will need landscape fabric under the gravel to stop weeds; skip it and you will be pulling growth from between the stones by July.
This pattern works best on level ground where water does not pool, since gravel alone will not correct grading problems.

STAYS IN PLACE - Our edging stays securely in place, keeping mulch and other materials from migrating into other areas of your landscape for a pollished look
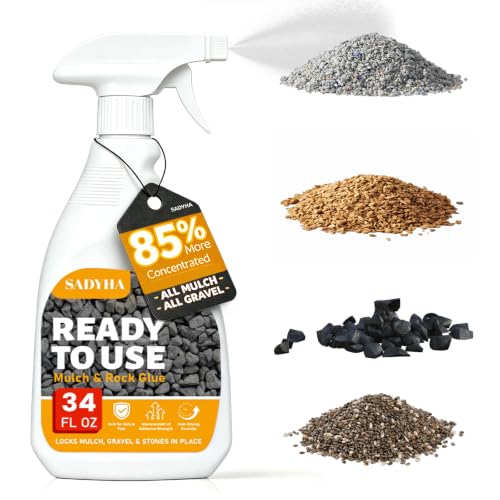
Helps Keep Decorative Stones & Mulch in Place This ready-to-use rock adhesive is designed to lock pea gravel, small stones, and mulch onto garden beds, pathways, and patio areas. It reduces shifting, scattering, and erosion, helping you maintain a tidy landscape with less frequent touch-ups. Suitable for DIY homeowners and professional landscapers alike."
2. Repurposed Brick Pavers
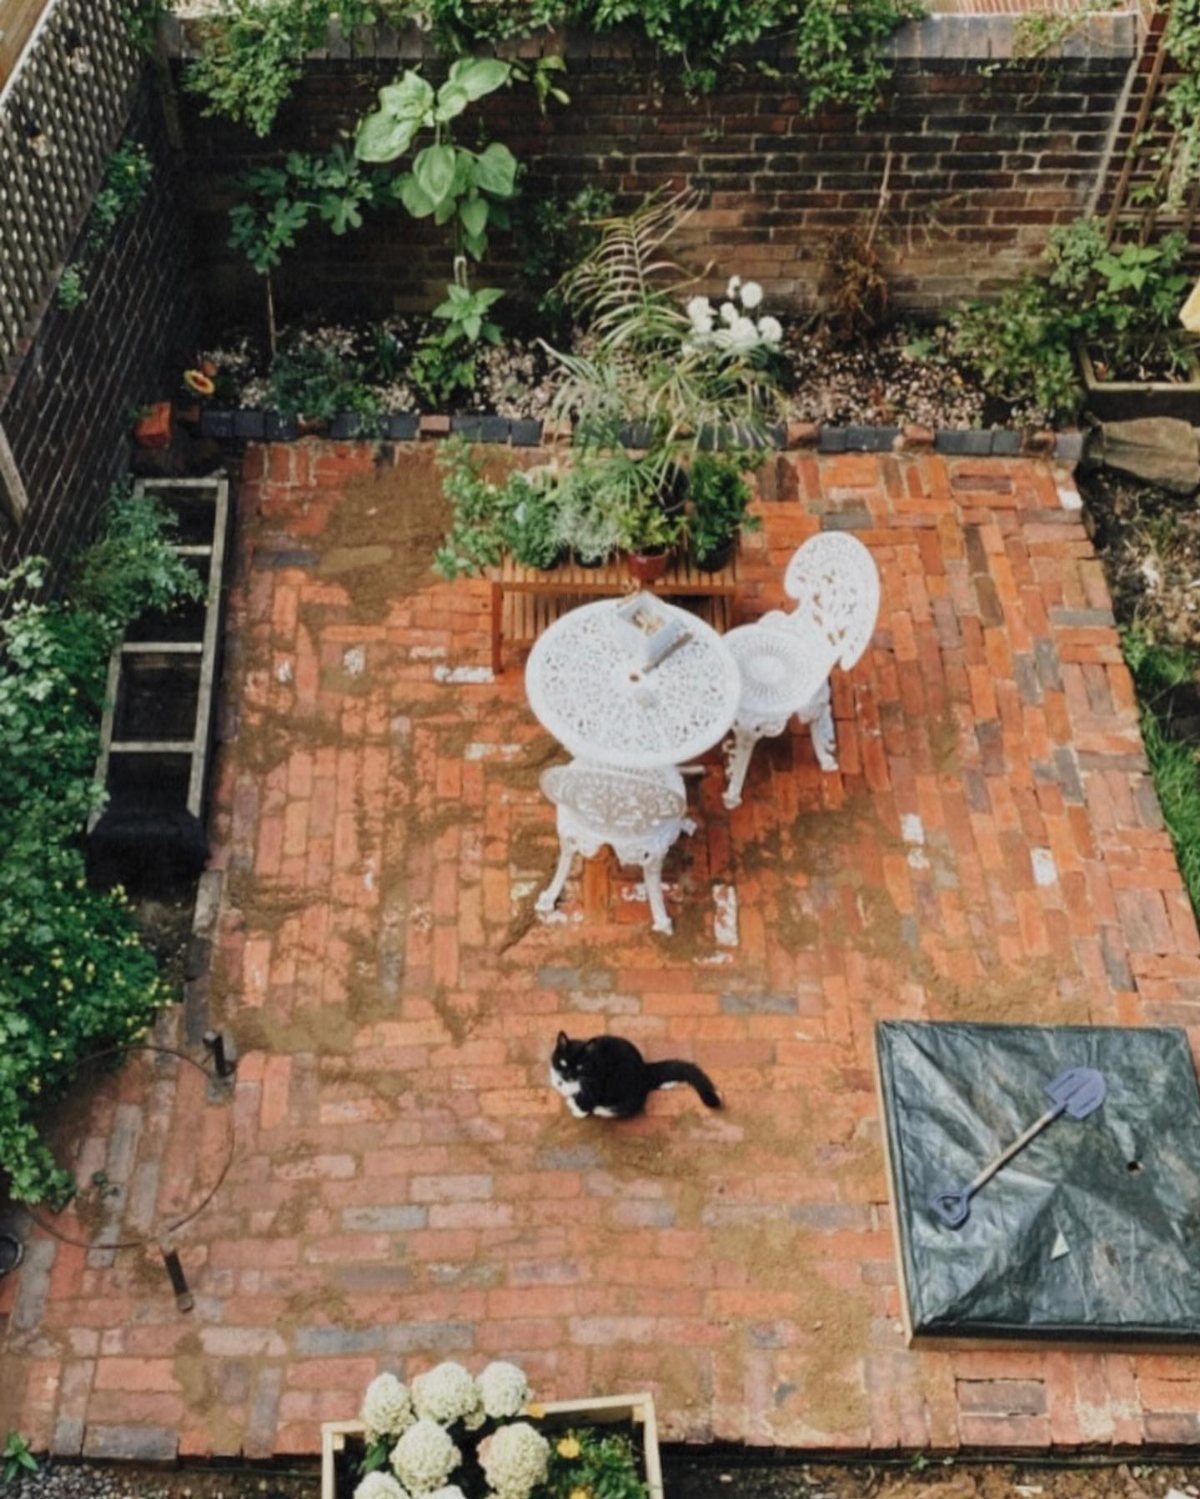
Salvaged bricks carry the marks of their last life: chipped edges, color variation, and a surface that already looks settled into your yard.
I would check every brick for the white powder called efflorescence, which is harmless mineral salt on the surface, and I would pass on any that flake when I scraped them with a key.
Bricks laid dry without mortar shift over winters, so I would budget for a inch of sand base and polymeric sand in the joints if I wanted them to stay flat.
The rustic look suits cottage gardens and older homes better than crisp modern exteriors.

HEAVY DUTY WEED BARRIER FABRIC: True 5 oz dual layer landscape fabric; a woven polypropylene layer for strength plus a needle punched layer to help filter and retain water

5OZ High Density & Durable Woven PP Material: This landscape fabric has 1415 Sq.ft large coverage area, length: 108ft/33m, width: 13ft/4m.This weed cloth can be easily cut to meet various needs such as driveway stabilization, gardening, agriculture, and drainage. Made of woven PP material and 5OZ high density, this driveway fabric has great durability and easily conforms to uneven surfaces.

4 OZ NON-WOVEN GEOTEXTILE FABRIC: 4 ounces per square yard, needle-punched black polypropylene for French drains, paver bases, retaining walls & light driveway underlayment. Separates soil from aggregate while letting water pass freely
3. Concrete Pavers Patio
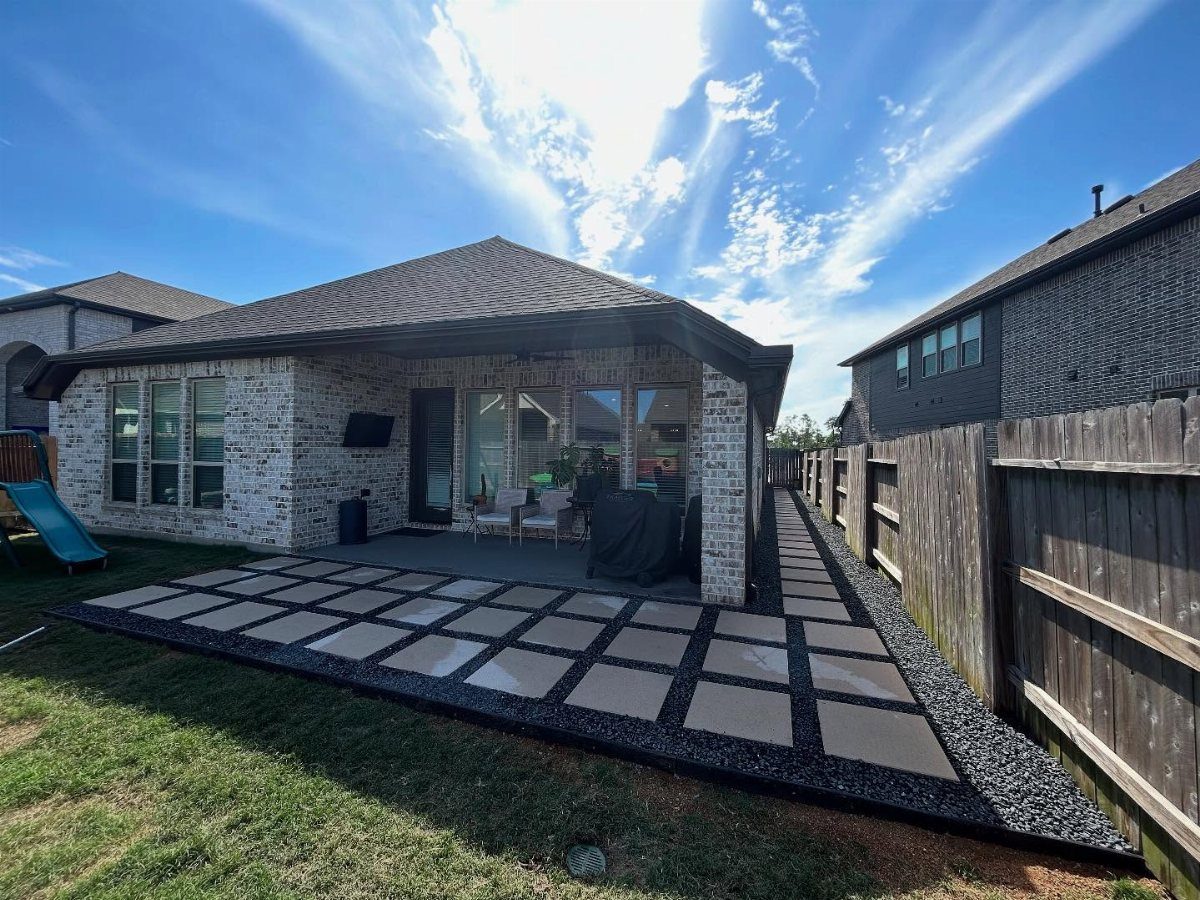
Large square pavers with dark gravel between them read as a grid without the precision of full mortared work. Wide joints between pavers leave room for ground cover or black gravel, which hides dirt and buys you time between cleanings.
I would lay these on a sand bed over compacted soil and check with a long level as I went; concrete this heavy will crack on unprepared ground.
The gravel fill requires edging to contain it, and I would use steel strips for a cleaner line than plastic. This suits the reader who wants geometry without cutting stone or mixing concrete.

Professional Polymeric Sand for Pavers Ideal jointing sand for patios, walkways, driveways, pool decks, and stone installations

Polymeric Sand with FLEXIBILITY, STRENGTH and BEAUTY: Ease your mind with revolutionary CERAMIC FLEX technology providing durability in joint widths from 1/8” up to 4”, in beautiful colors to make your paver or stone surfaces pop! (minimum 1" depth), with beautiful colors to make your paver or stone surfaces pop!

{ Fight Every Weather Condition } Whether it be rain, snow or excessive sunshine; Our sand is designed to handle the rigors of anything mother nature can throw at your patio!
4. Stone Fire Pit Patio
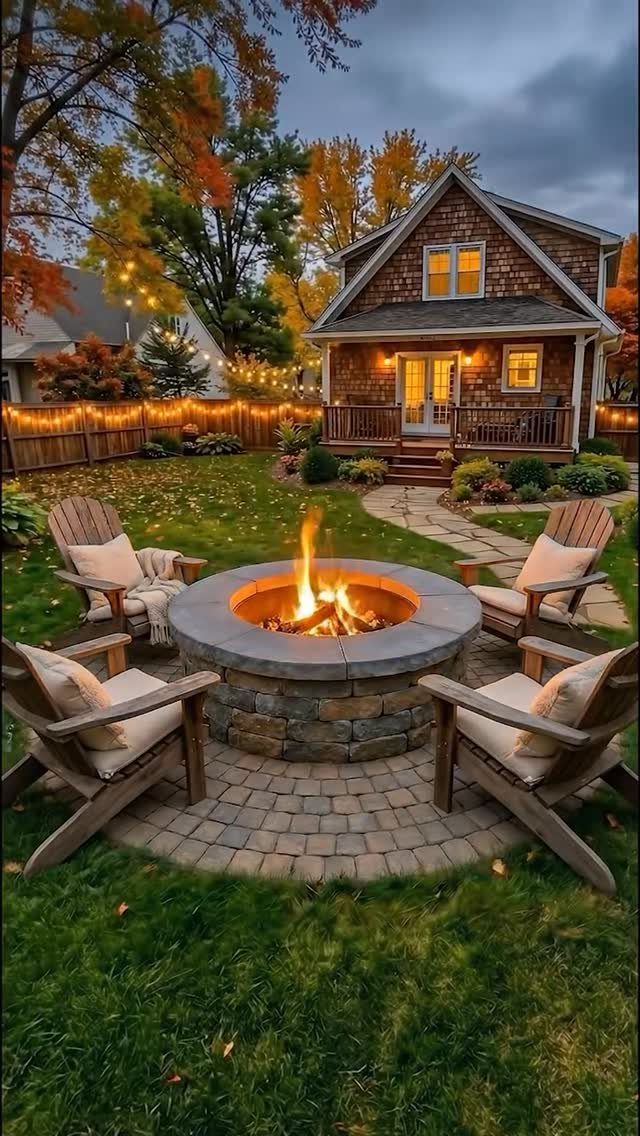
A fire pit built into a paver patio gives you a gathering point that extends the season into October nights.
A metal ring insert inside stacked stone is the part I would insist on; dry-stacked stone alone cracks from repeated heating and can send shards outward.
Your local code likely requires the pit to sit 10 feet from structures and overhanging branches, and I would verify that before I bought the first stone.
The round patio shape seats more people than a square of the same area, but it also wastes cuts at the edges; I would stick to a circle only if the yard had room to spare.

FLEXIBILITY, STRENGTH and BEAUTY: Ease your mind with revolutionary CERAMIC FLEX technology in the most advanced polymeric sand available, allowing flexibility and durability in joints 1/8” up to 4”, with beautiful colors to make your paver or stone surfaces pop!

FLEXIBILITY, STRENGTH and BEAUTY: Ease your mind with revolutionary CERAMIC FLEX technology in the most advanced polymeric sand available, allowing flexibility and durability in joints 1/8” up to 4”, with beautiful colors to make your paver or stone surfaces pop!

FLEXIBILITY, STRENGTH and BEAUTY: Ease your mind with revolutionary CERAMIC FLEX technology in the most advanced polymeric sand available, allowing flexibility and durability in joints 1/8” up to 4”, with beautiful colors to make your paver or stone surfaces pop!
5. Stepping Stones Patio
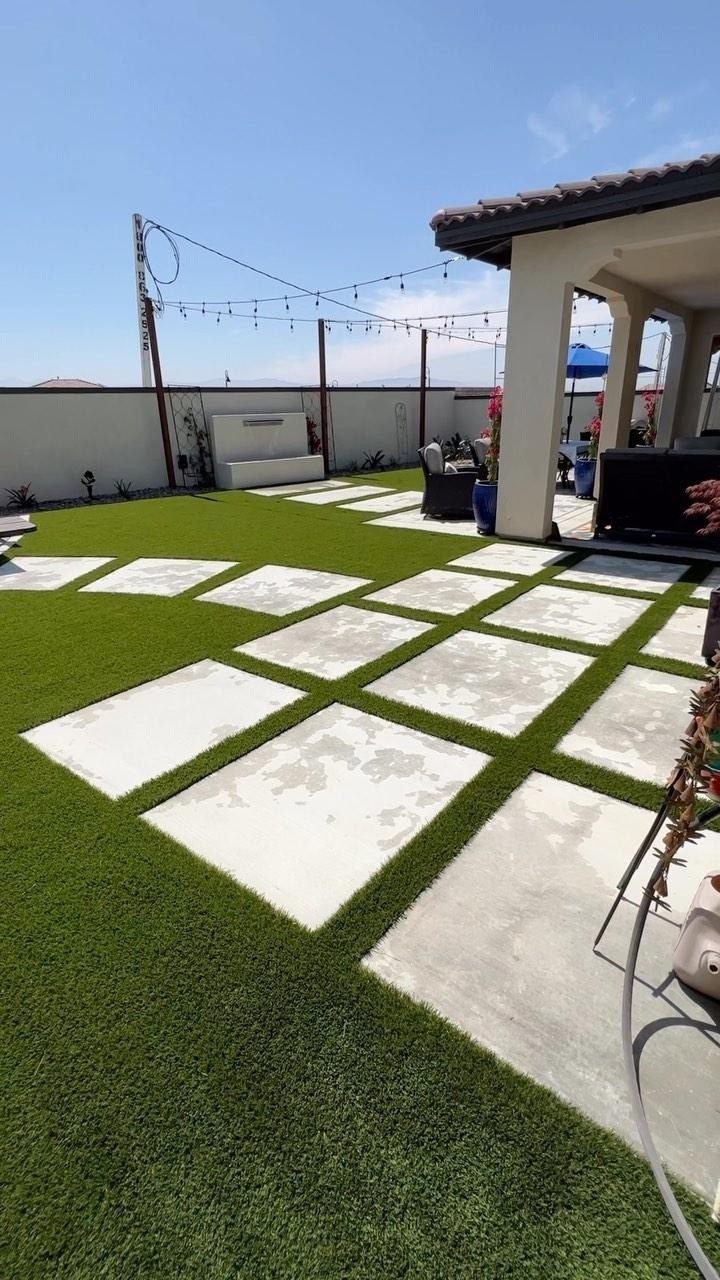
I would space these close enough for stability; wider gaps and the turf between them will sag and tear underfoot.
Artificial turf underneath stays flat and drains, which matters because real grass would die in the shade of the stones and mud would track indoors.
This is the fastest patio on the list, a Saturday project if the ground is level, but it assumes you already own the turf or accept its look.

Open Bottom Design – Perfect for DIY Stone/Brick Fire Pits: This is a fire pit liner / insert only, not a complete fire pit. It has no bottom, allowing direct ground contact or placement over sand/gravel. Designed to be surrounded by stones, bricks, or pavers for a custom, professional-looking outdoor fire pit. Ideal for above-ground or in-ground DIY projects.

Easy Installation: The 8-piece fire pit ring insertion kit is easy to assemble and can be assembled in just a few minutes.Seamless design allows for easy installation and integration into your DIY fire pit project.Fixed with screws, it will not easily fall off during use. Let you have more time to enjoy the joy brought by flames.

VENTILATION HOLES DESIGN -- Enhancing airflow and oxygen circulation, the addition of a top circle of ventilation holes promotes thorough wood combustion, boosting burning efficiency while minimizing smoke. This design lets you fully engage in joyful gatherings around the fire pit, creating lasting memories and relishing the dancing flames with peace of mind among family and friends.
6. Wooden Pallet Patio
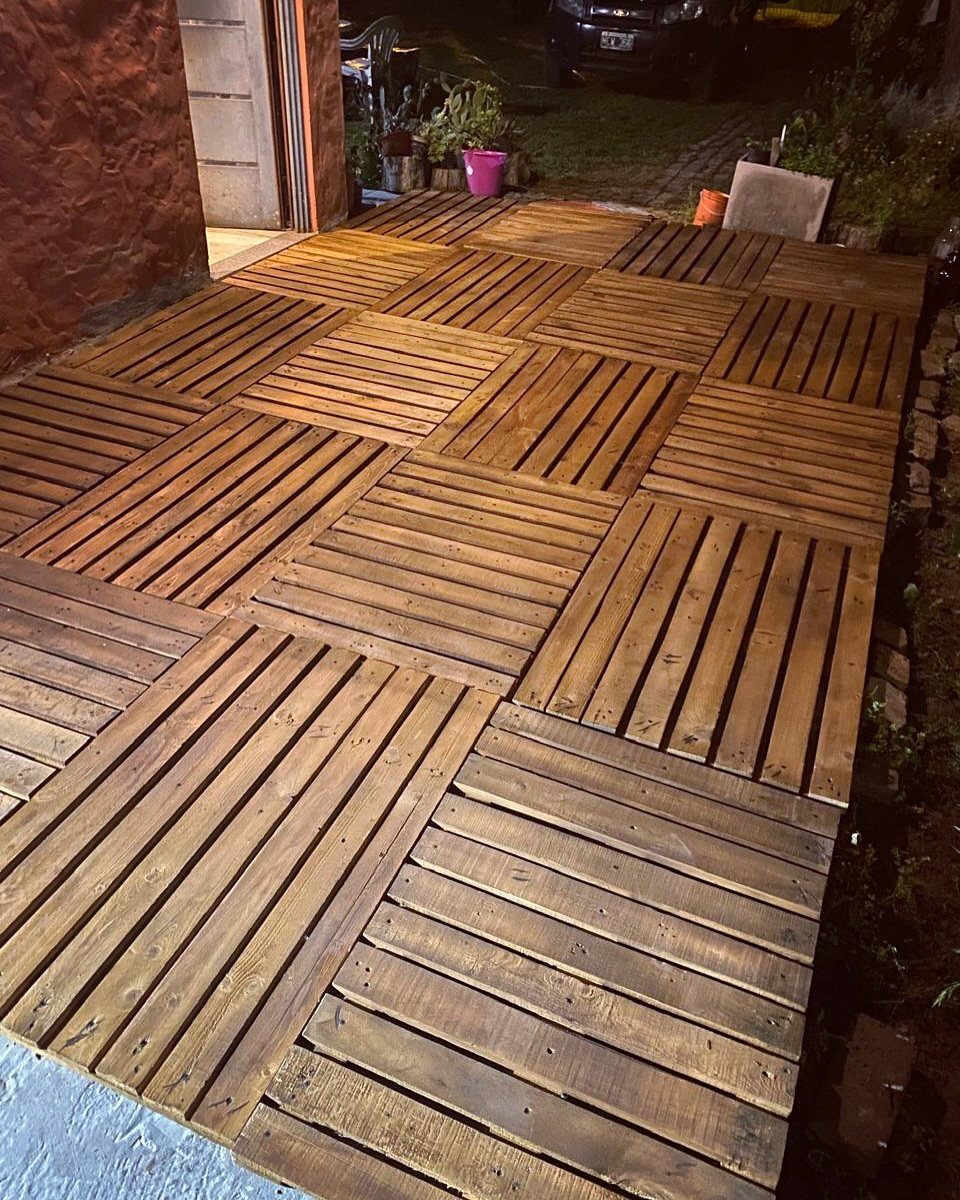
Pallet sections turned into a parquet floor cost nearly nothing if you have truck access to industrial discards.
I would pull every pallet apart to inspect for the blue methyl bromide stamp, which means poisoned wood meant for export; heat-treated pallets marked HT are what I would keep.
The wood sits directly on ground here, so I would expect two, maybe three seasons before rot sets in, and I would lift and store the sections before hard frost if I wanted a fourth.
Pallet wood splinters, so I would sand every surface with 80-grit before I sealed it, and I would not build this for a household with small children who crawl.

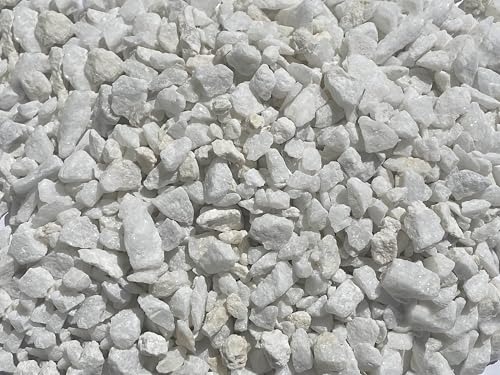
PREMIUM DOLOMITE: Natural white dolomite pea gravel for landscaping and garden decoration, featuring a clean, bright appearance
7. DIY Cinder Block Patio Furniture
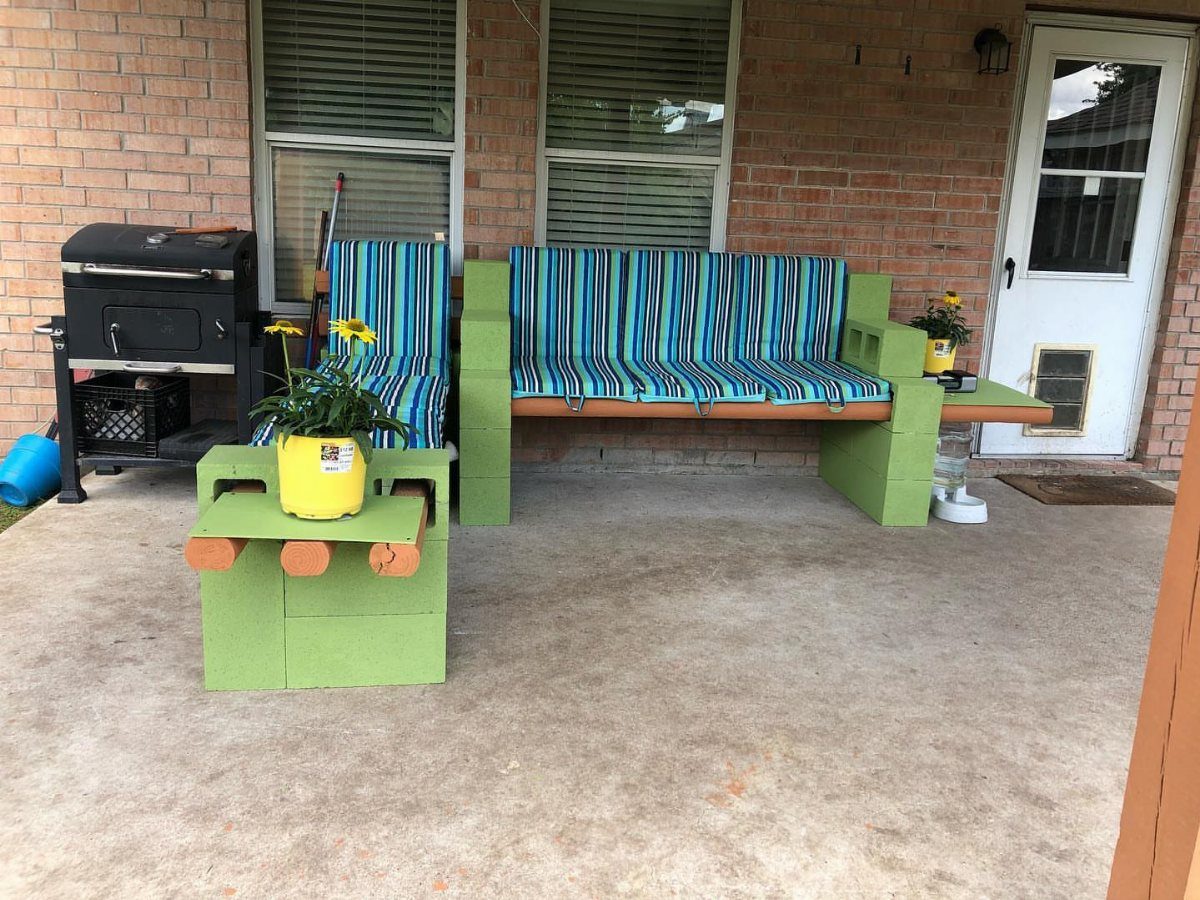
Painted cinder blocks stacked as legs with wood planks laid across them give you modular seating that reconfigures for a party or a quiet afternoon.
Lime paint reads cheerful on cinder block, but I would prime the blocks first; bare concrete sucks moisture through paint and chalks within a season.
The wood carries the load, though, so I would use 2-by-6 pressure-treated lumber and check each plank for the incised grade stamp showing proper treatment.
These pieces are heavy; that is the trade-off. A single rain will not budge them, but shifting a section takes more than one person.
I would skip this if I expected to redeploy the space often, and I would add adjustable furniture feet under the bottom blocks if the patio slopes even slightly.
Water pools under the planks otherwise, and rot begins in one wet summer.
The cushions are what make it sit-worthy.
I would budget for outdoor foam that drains rather than salvage indoor seat pads; compressed polyester turns to mildew in weeks. Sunbrella or a similar acrylic cover lasts several seasons and repels the coffee spills that concrete invites.
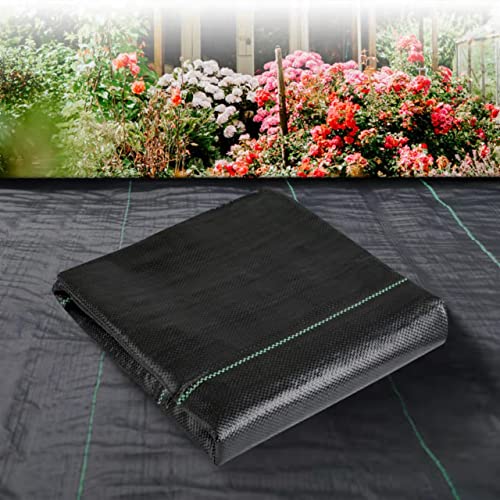
Premium Weed Barrier Fabric:Weed barrier landscape fabric is a type of geotextile fabric that is commonly used in landscaping and construction.With excellent weed control properties, providing a clean and tidy landscape.Very strong and durable,Pro landscape weed barrier will provide you with premium weed protection for a very long time.
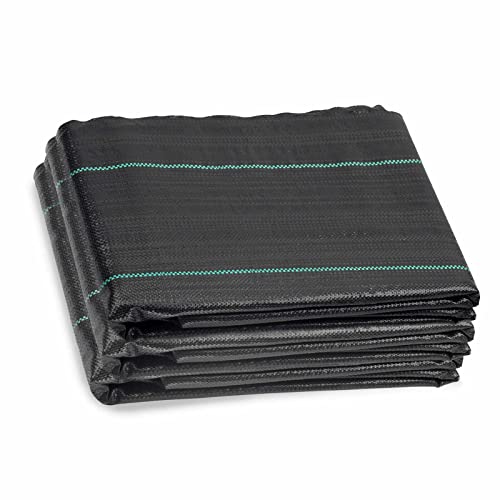
Weed Blocking Landscape Fabric:Groweco Heavy Duty Weed Barrier Fabric is made of 3.2 oz polypropylene.The use of weeding cloth can provide weed protection for you,make your workplace clean and hygienic,make your work more comfortable and improve your work effciency

【Premium Weed Barrier Fabric】 Weed barrier landscape fabric is a type of geotextile fabric that is commonly used in landscaping and construction. With excellent weed control properties, providing a clean and tidy landscape. Very strong and durable, Pro landscape weed barrier will provide you with premium weed protection for a very long time.
Cost-saving Tips for DIY Patios
I would start every cheap patio by deciding exactly how large the space needs to be before I buy anything.
Measuring first keeps me from overbuying pavers or gravel by the truckload, and it lets me adapt the shape to what is already flat rather than paying to regrade.
Found or repurposed materials are where I would look first.
Salvaged brick, leftover concrete pavers from a neighbor’s job, or industrial pallets marked HT for heat-treated all cut material costs to nearly nothing. I would budget my time instead: a free Saturday with a shovel beats a delivery fee.
I would install it myself.
Professional labor often doubles the cost of a patio this size, and none of these ideas need specialized tools. A pick axe, a steel garden rake, and a long level are enough to get started.
Doing one project at a time also saves money.
I would finish the patio surface this year, add furniture next season, and build the fire pit when I find the right stone. Buying materials in stages, as each paycheck allows, keeps the total within a real budget.

SRW Polymeric Sand for paver joints, patios, driveways, walkways, and retaining walls; fast-setting formula hardens with water to prevent shifting, erosion, weed growth, and ant infestations while creating long-lasting, professional-quality joints.
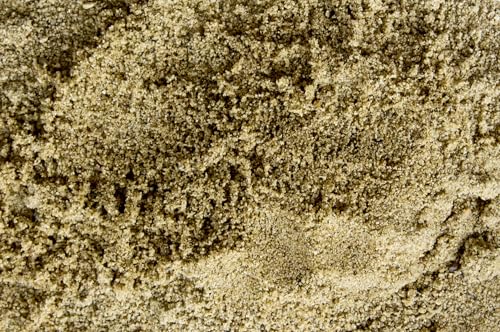
FINE WASHED MASONRY SAND – Fine-grain natural sand with a consistent texture for masonry, hardscape and outdoor home improvement projects.
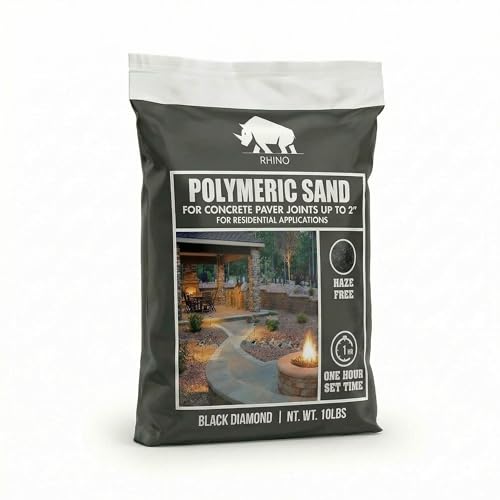
Rhino Power Bond Plus black polymeric sand for paver joints and stone joints up to 2 inches, perfect for patios, driveways, walkways, and outdoor hardscapes.
Preparation Steps for Patio Installation
I would clear every inch of grass and debris before I place the first paver.
A shovel works for living turf; dead grass still needs removal so the surface stays flat. I would pack the dirt underneath hard with a hand tamper, since firm ground holds the level and the pavers settle less later.
Grading comes next. Slight slope away from the house matters more than perfect flatness; water that pools against siding causes problems no patio surface survives.
For sunken pavers, I would dig to the full height of the brick plus my sand base before I start placing anything. Guessing at depth mid-project leaves some bricks high and others low.
I would set my first paver in a corner, squared to the house or a fence line, and level it with neighbors as I work outward.
A level on top of each stone catches the wobbles before they lock into the pattern.
Sand swept into joints comes last. I would sprinkle, sweep, and repeat until the cracks fill solid; loose pavers shift underfoot by fall if I skip this.

FLEXIBILITY, STRENGTH and BEAUTY: Ease your mind with revolutionary CERAMIC FLEX technology in the most advanced polymeric sand available, allowing flexibility and durability in joints 1/8” up to 4”, with beautiful colors to make your paver or stone surfaces pop!

Professional Polymeric Sand for Pavers Ideal jointing sand for patios, walkways, driveways, pool decks, and stone installations

Benefits of DIY Patio Projects
A patio I build myself fits the yard I actually have, not a template drawn for someone else.
I can change the dimensions by half a paver, curve around an established tree, or stop the edge where the ground falls away. That flexibility is hard to buy from a contractor on a tight budget.
The cost difference is real. Professional installation fees often match or exceed material costs for a space this size, so doing the work myself typically cuts the total by half.
I would rather spend that savings on better edging, proper outdoor foam cushions, or a second project next spring.
There is also the matter of knowing how it went together.
When a paver settles or gravel migrates, I understand why and I know how to fix it. That knowledge stays with the house.
Property value rises with usable outdoor space, even at this budget level.
A finished sitting area reads as square footage buyers can use, and the work I put in shows. I would not build a patio to flip a house, but I would build one to live in it more comfortably.

Durable & Safe -- Crafted with durability, our fire rings are constructed using high-quality steel materials that can withstand high temperatures. Additionally, it provides a secure barrier, effectively keeping ash and debris from falling through the gaps, ensuring a tidy and controlled environment. With its robust construction, our firepit liner guarantees long-lasting performance, allowing you to relish countless hours of warmth and relaxation around your fire pit.

Large Fire Capacity & Multi-Size Options: Available in 3FT, 4FT, 5FT, and 6FT sizes with 12" or 17" height options to fit different outdoor spaces and gathering needs. Compared with standard 8" fire pit rings, the taller firepit holds more firewood to create stronger,longer-lasting fires without interruptions.
Easy Installation: The 7-piece fire pit ring insertion kit is easy to assemble and can be assembled in just a few minutes.Seamless design allows for easy installation and integration into your DIY fire pit project.Fixed with screws, it will not easily fall off during use. Let you have more time to enjoy the joy brought by flames.
Frequently Asked Questions
What is the cheapest way to build a backyard patio?
Pea gravel or repurposed materials like salvaged brick and heat-treated pallets are your cheapest starting points. Gravel skips the cost of hard pavers entirely, though you’ll need landscape fabric underneath and edging to keep it from drifting.
If you can source free bricks or leftover concrete from a neighbor’s job, your material cost drops to nearly nothing and you only spend time with a shovel and sand base.
How much would a 20×20 patio cost?
Doing the work yourself instead of hiring out keeps a 20×20 patio closer to material cost alone, which is where most of the savings come from.
I would start by measuring exactly so I don’t overbuy materials by the truckload, and I would look for found or repurposed stone first.
Doing the project in stages, finishing the surface now and adding furniture next season, spreads the cost across paychecks.