These 6 builds range from pallet wood you can source for free to cedar and redwood frames that cost more upfront than construction-grade pine but skip the pressure treatment.
Your timeline and your tolerance for upkeep decide a lot here; 2×4 frames left bare start checking after a single season, while pallet wood needs 3 coats minimum to stop tannin bleed-through.
[link-whisper-related-posts]1. Cedar and Redwood Outdoor Sectional

Cedar and redwood sectionals let you build around the corners and lengths you actually have, not the layout a store decided would sell.
A modular system lets you rearrange the pieces: corner chair, two-seater or three-seater, chaise. You pick which pieces meet at the corner and which run along the fence line.
Heartwood from either species holds oil that repels moisture and resists rot without pressure treatment.
Cedar costs more than construction-grade pine but resists rot without pressure treatment; redwood is competitive with cedar where it grows locally, so West Coast builders often choose it.
Either way, the wood grays to silver in 2 seasons unless you re-oil yearly.
Off-white or cream cushions hide sun-fade better than darker colors, which show it in a single summer.
Cutting your own frames from cedar or redwood saves money over a finished modular set, though the total still depends on how many seats you build.

Durable Acacia Wood Frame - Built to Last: Crafted from dense, weather-resistant acacia wood, this 5-piece patio set stands up to sun, rain, and everyday use—no warping, no wobbling, just rock-solid stability season after season.

Utilize Your Outdoor Area: Devoko Outdoor Sectional Couch is designed to fit your outdoor area, whether you want to create a comfortable leisure area on your patio, deck, or garden. Its flexible modular design allows you to arrange the pieces to suit your space and style.

Easy to Assembly & 24/7 Customer Support: It is very easy to assemble according to the instructions with all tools included. If you encounter any issues, please visit our website christopherknighthomes.com or feel free to reach out to us at [email protected]
2. Cushions for Your Outdoor Sectional
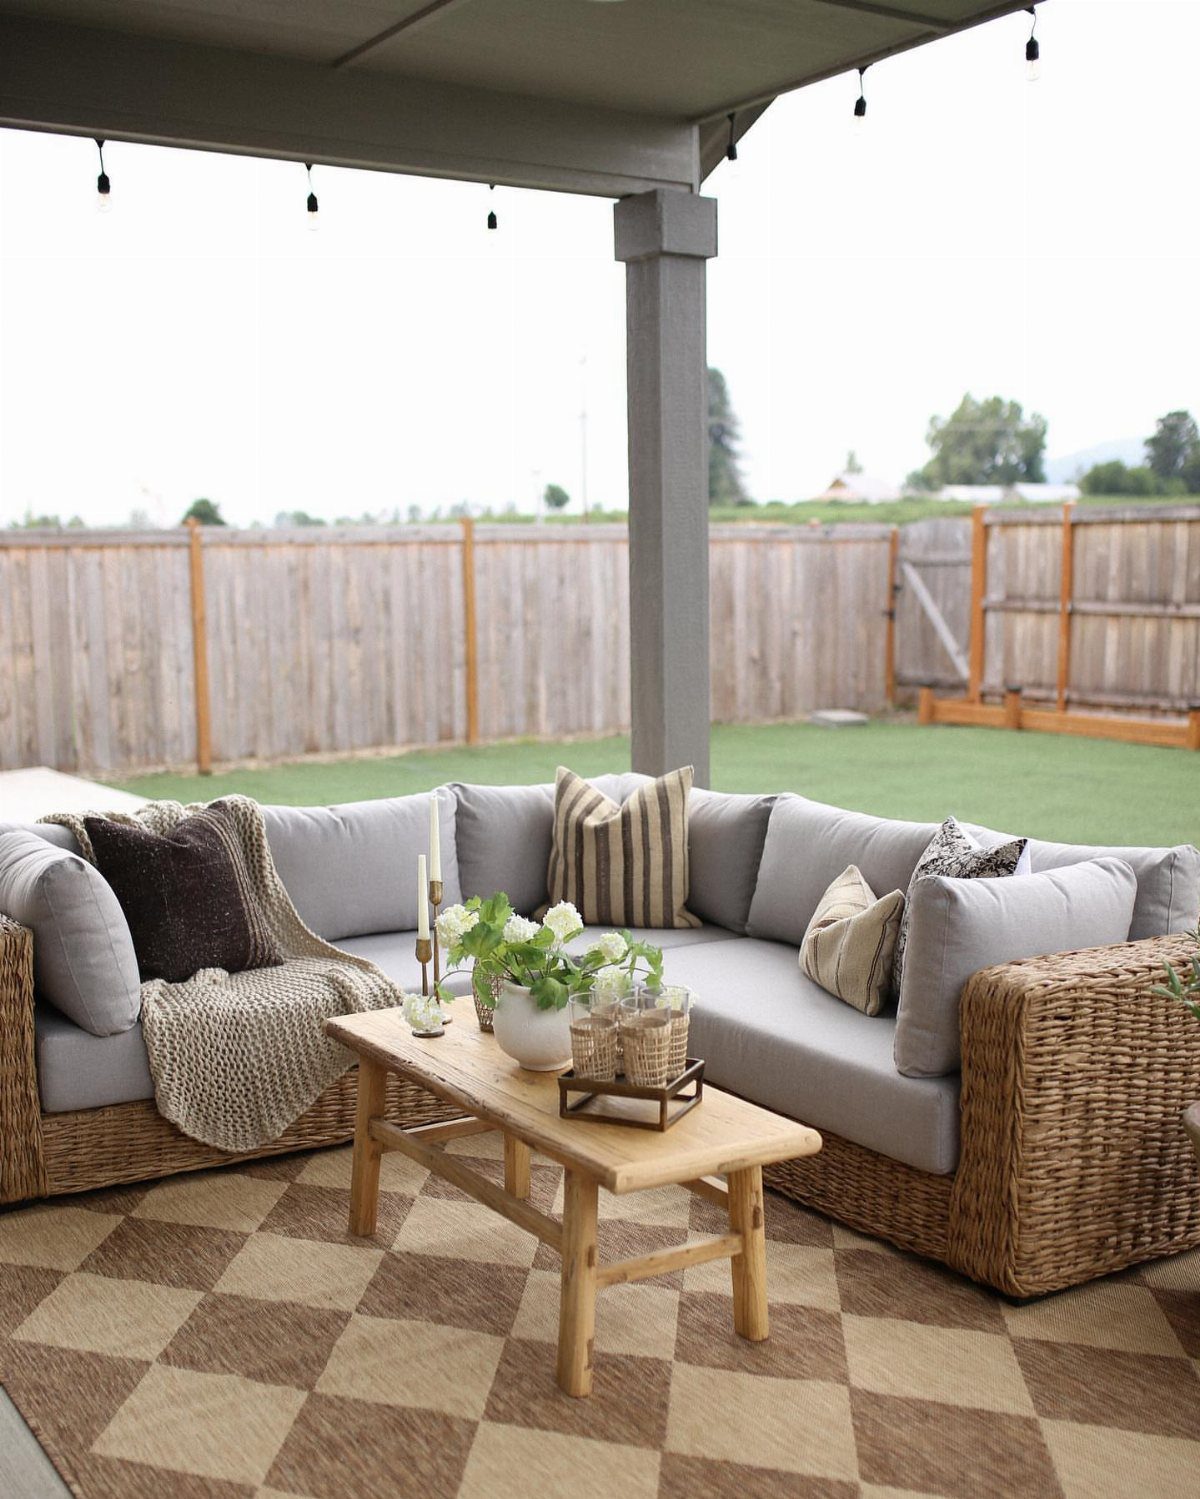
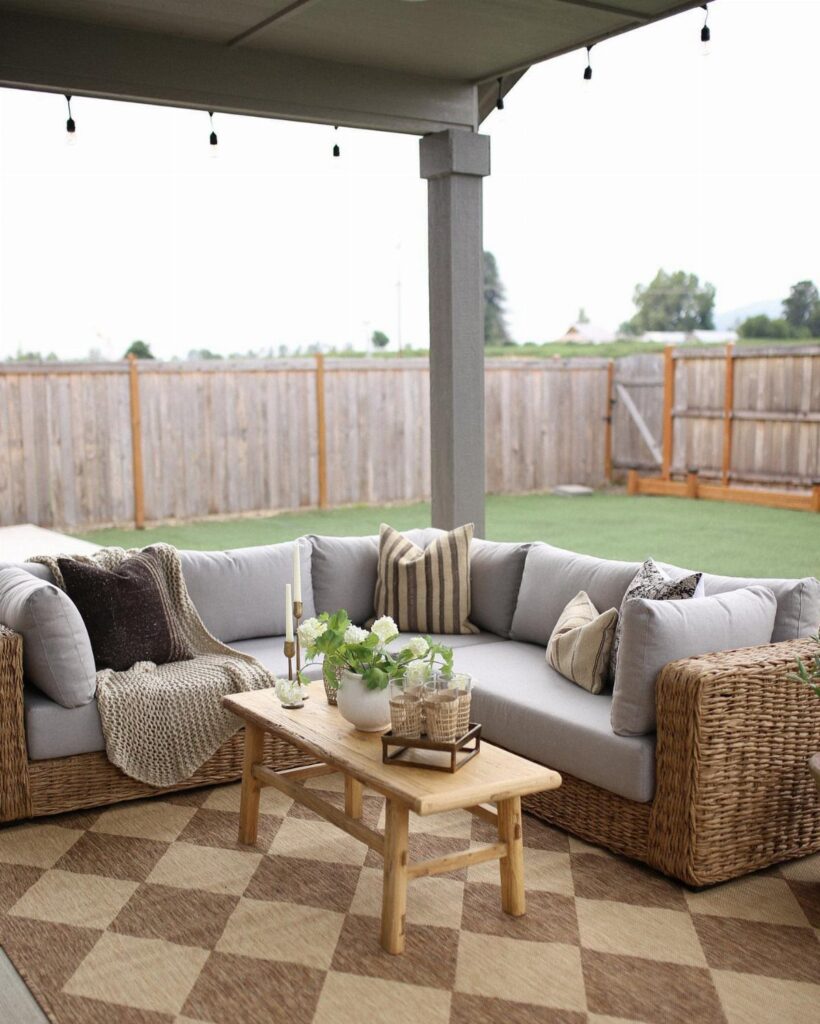
Gray cushions on a wicker base read neutral enough to survive a style change, which matters when you are replacing one piece at a time over years.
The visible set uses knife-edge seat cushions with lumbar throw pillows; that ratio of one back pillow per seat works for upright lounging, though I would add a floor pillow at each corner if napping matters to you.
Before ordering, measure the seat depth your frame actually provides, not the cushion you hope will fit.
Outdoor foam wrapped in polyester batting, then encased in solution-dyed acrylic like Sunbrella, outlasts standard outdoor foam by years; the wrap is what keeps the loft.
Seat cushions run more than back pillows, and the gap widens if you upgrade the foam density. I would skip solid white; it soils at the edge where bare legs rest and needs washing by July.

【7-Piece Replacement Set】Our outdoor chair cushions include 4 seat cushions and 3 back pillows—designed specifically for 6-seat patio sectionals. An easy all-in-one solution to refresh your outdoor space without the hassle of mixing and matching. Please carefully measure your existing furniture before ordering to ensure proper fit.

【Package Information】Includes 6Pcs seat covers(23.6Lx23.6Wx3.5H inch) 6 backrest covers (23.6Lx13.8Wx3.1H inch) and 2Pcs small armrest covers (19.7Lx13.8Wx3.1H inch) , perfectly fitting for 6-seater wicker rattan patio conversation set. COVERS ONLY and please measure the seat cushion size carefully before placing an order.

【7-Piece Replacement Set】Our outdoor chair cushions include 4 seat cushions and 3 back pillows—designed specifically for 6-seat patio sectionals. An easy all-in-one solution to refresh your outdoor space without the hassle of mixing and matching. Please carefully measure your existing furniture before ordering to ensure proper fit.
3. Covers to Shield Your Sectional
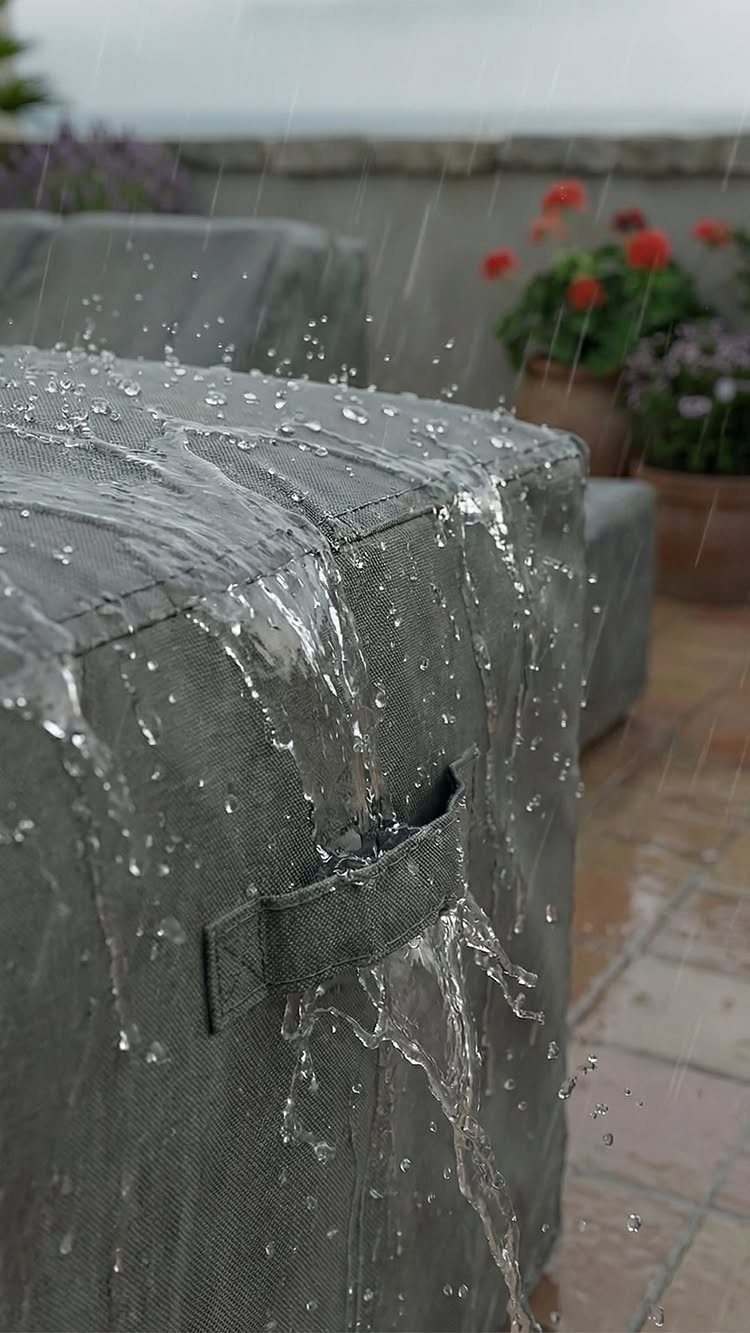
A cover worth buying sheds water through woven polyethylene or vinyl-coated polyester rather than absorbing it into quilting. Once water starts darkening the fabric, the coating has degraded and the frame beneath risks mildew.
Check the closure system before you buy.
Draw cords with toggle locks beat elastic hems in wind; straps underneath beat both. I would not trust a cover that sits loose enough to billow in a storm, since the motion wears the fabric against frame corners.
Measure your sectional at its widest points, including cushions if you will store them in place, then add ease so the cover slides on without a fight.
Single-seat covers cost less than a full sectional shell, and an L-shape always needs a custom or specialized cut. A cover that fits well buys you 2 extra years before the wood needs refinishing.

24" Wide Upholstery Grade: The 36-inch width is ideal for a wide range of projects, from furniture upholstery to decorative pillows and bedspreads, providing ample material for your needs.

GENEROUS 18" x 18" CHAIR PAD FOR FULL COVERAGE – Larger 18" x 18" seat design offers generous coverage for dining, kitchen, patio, and accent chairs while delivering a more relaxed, comfortable fit.

Soft padding for cushions: Made from 100% polyester, this 200 GSM batting recovers to more than 1/2 inch thick after fully expanding, adding soft loft around cushion foam without excessive bulk.
4. Wood Pallet Outdoor Sectional
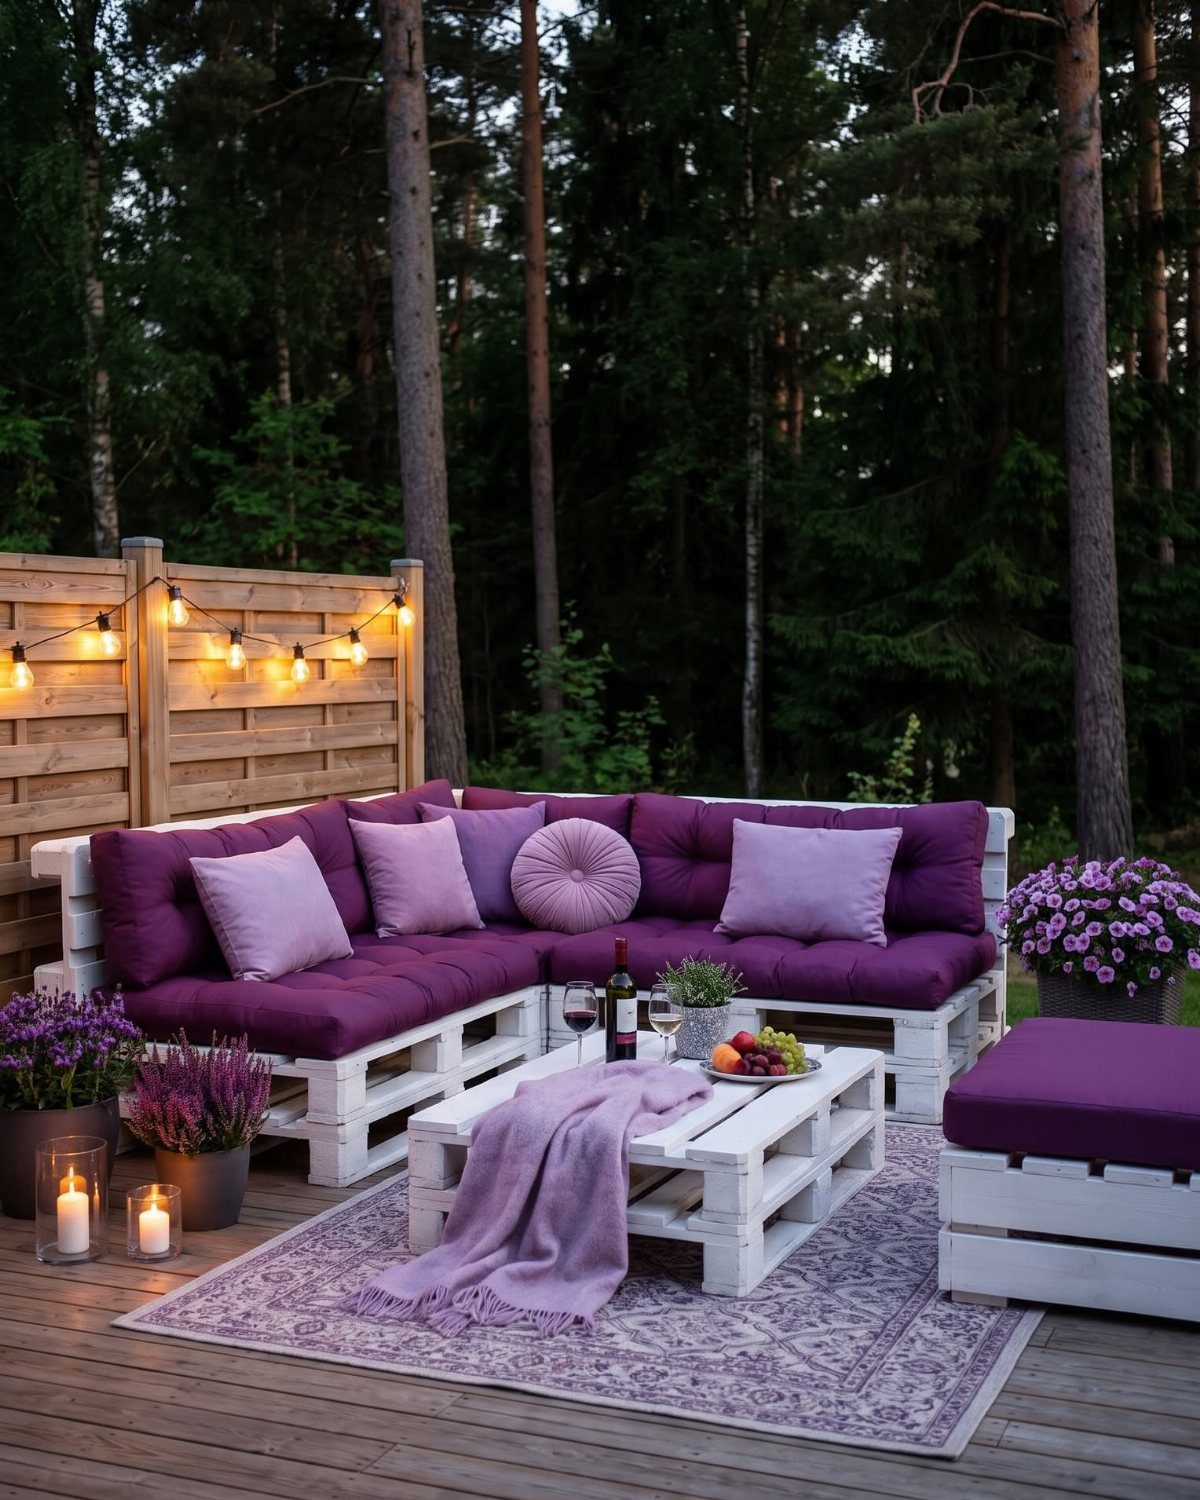
White paint on pallet wood takes 3 coats minimum; the tannin bleeds through anything less, and the rough surface drinks paint.
I would stain rather than paint if I were starting over; paint on pallet seams cracks with the wood movement.
Pallets marked "HT" for heat-treated carry no chemical preservative and are safe for residential use. Avoid "MB" (methyl bromide) or unmarked pallets.
Plan a weekend for deconstruction, sanding, and assembly, plus a day for paint or stain.
Free pallets bring the material cost down to hardware and finish alone; substituting store-bought lumber for the pallet core raises the price but saves you the scrubbing and inspecting.

[GET THE COMFORT YOU DESERVE] - All Sorra Home products are made with high quality fabric that can be used both indoors or outdoors.

【Heavy Duty Double-Stitched Design & Durability】Double-stitched seams ensure strength under stress while piping adds a sophisticated look. Windproof ties feature reinforced bar tacks design to provide durability and strength to the cushion cover. FadeShield fabrics boast over 50,000 double rubs provide the utmost durability, so you’ll never have to be concerned about everyday wear and tear.

Ideal for casual indoor and outdoor use
5. Modern Wood Framed Sectional
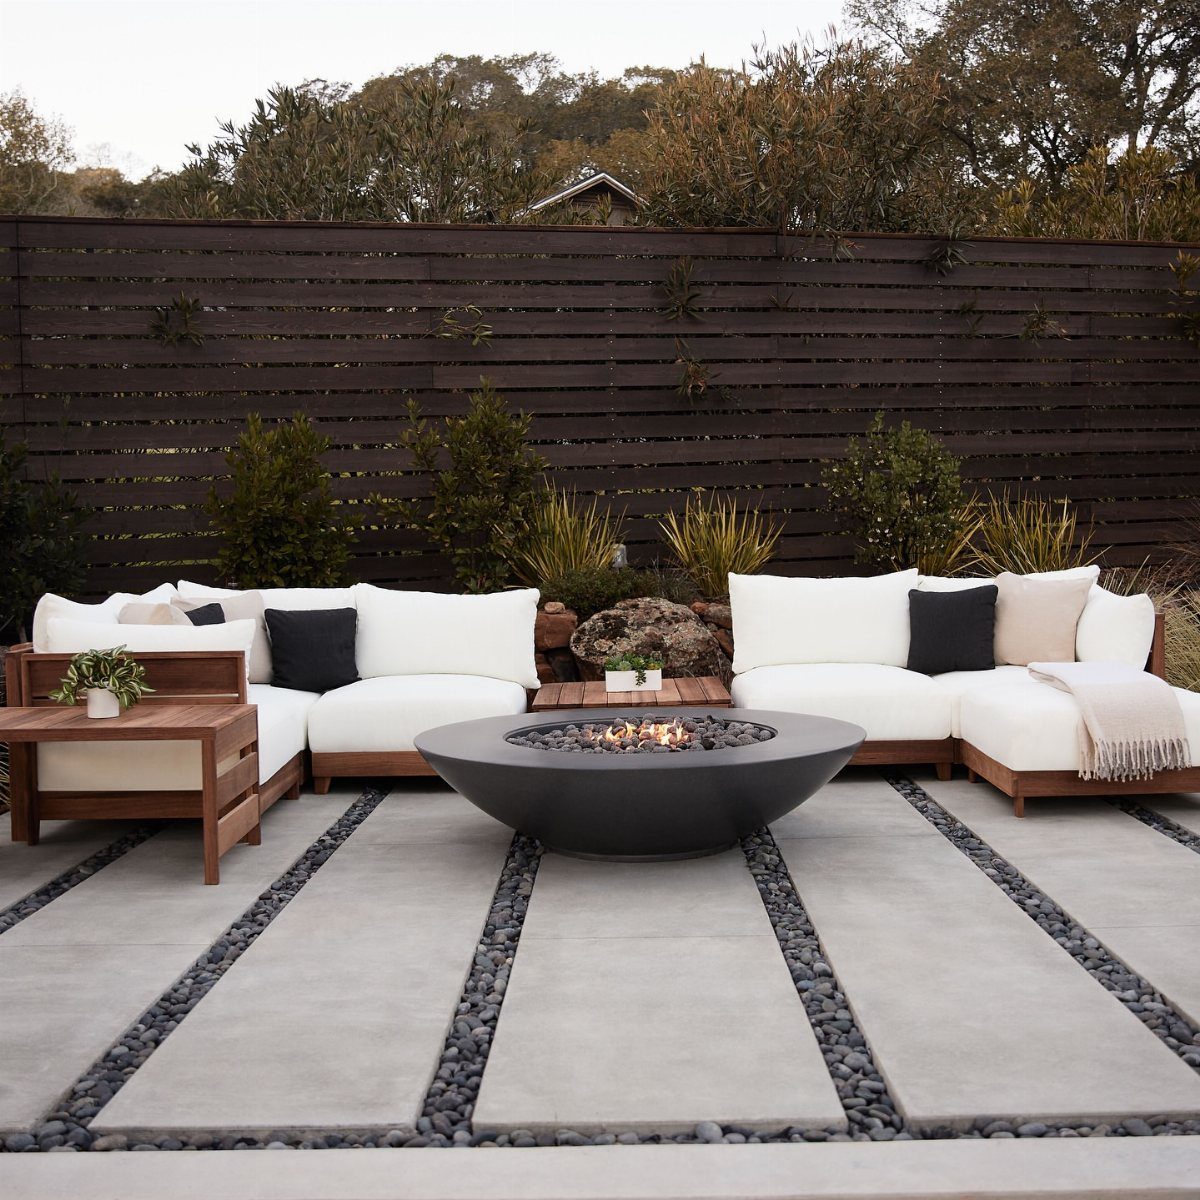
White cushions with minimal piping keep the lines clean.
I would add 2-inch casters under the frame if your patio sits on concrete; the grass or gravel you see in other photos would catch the wheels.
The fire pit center means this layout commits to the lounge; dining would need a separate zone.
The frame in painted or sealed cedar costs less than finished teak but more than pine, with the final number riding on how much joinery you cut yourself.

TRIPLE WATERPROOF PROTECTION: Crafted from 600D Oxford fabric with a waterproof coating and taped inner seams, Vailge right L-shaped outdoor sectional cover helps keep your patio furniture from rain and moisture throughout the seasons.

WATERPROOF PATIO SECTIONAL COVER: Made by water resistant thick oxford fabric with PVC back coating. It is 100% waterproof, providing protection against wind, rain, frost, UV rays, dirt, dust or bird droppings, keeps your furniture set to be safe, clean and dry.

WATERPROOF PATIO SECTIONAL COVER: Made by water resistant thick oxford fabric with PVC back coating. It is 100% waterproof, providing protection against wind, rain, frost, UV rays, dirt, dust or bird droppings, keeps your furniture set to be safe, clean and dry.
6. Unfinished 2×4 Wooden Frame Sectional
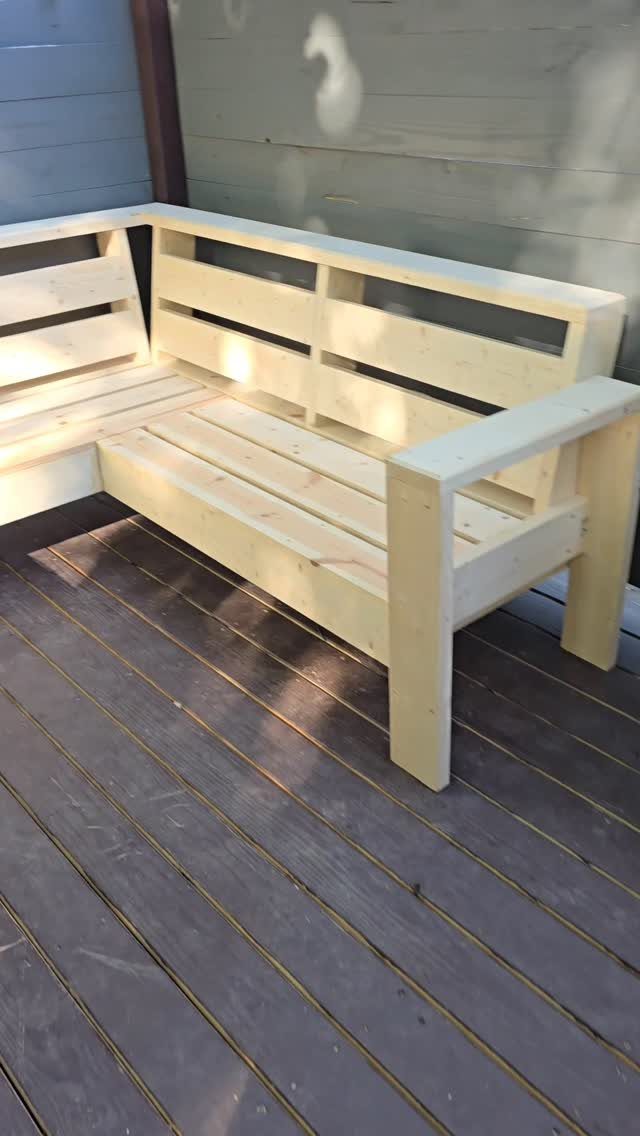
Unfinished 2×4 construction speaks to a builder who wants the wood to silver down to match the deck it sits on, or who plans to stain later and could not decide yet.
The horizontal slat back and seat, with thick square legs, give the frame torsional rigidity that vertical 2x4s lack.
I would add a stretcher between front and back legs at ground level; without it, the frame racks when weight hits both sides at once.
Leaving spruce-pine-fir unfinished past one season means checking and cracking; a single coat of penetrating oil at assembly adds a day to the build but pushes major refinishing years down the road.
Plan two weekends: one for cutting and dry-fitting, one for assembly and finish. An L-shaped frame this size runs cheap in raw lumber, though cushions can double the total if you buy new.

【Modular L-Shaped Patio Sectional】This outdoor patio furniture set includes a chaise and a 2 seater sofa, forming a flexible L-shaped patio sectional. The modular outdoor sectional furniture design allows multiple layouts, ideal for patio sofa, backyard furniture, porch, deck, or balcony use.

DURABLE SOLID WOOD CONSTRUCTION ► Made of durable cedar/fir wood, the patio garden bench ensures years of maintenance free use, ideal for your patio lawn, garden, backyard, beach, porch, balcony etc. Besides, the bench chair can be left natural finished or painted on any color you like

Flexible Arrangement: Greesum outdoor sectional sofas offer flexible configurations to suit your patio or deck. The set includes 1 armless chair, 2 corner chairs, 1 tea table, 1 ottoman chair, 4 seat cushions, and 5 back pillows.
Choosing the Right Wood
Cedar earns its place through natural oil in the heartwood that repels moisture and insects without any factory treatment.
Most lumber you will see at a yard can survive outside if you seal it. Stain soaks in instead, which needs less prep and moves with the wood instead of cracking across seams.
A penetrating sealant adds protection without changing the look; in wet climates, I would use it as an underlayer beneath paint or stain.
Sand before any coating. Dust and grain raised during cutting block adhesion, and the finish fails in patches by the second season.

【9-Piece Replacement Set】Our outdoor chair cushions include 4 seat cushions and 5 back pillows (2 Corner Backrest Pillows + 3 Backrest Pillows) —designed specifically for 6-seat patio sectionals. An easy all-in-one solution to refresh your outdoor space without the hassle of mixing and matching. Please carefully measure your existing furniture before ordering to ensure proper fit.

【Set Size】Outdoor Cushion Set includes 1 seat cushion measuring 24"W x 24"D x 5.75"T and 1 back cushion measuring 25"W x 22.5"H. (Measure the seating area of your furniture to make sure the cushion size is right).Pro Tip: Always double-check measurements before purchase! For assistance, contact us for a step-by-step video guide.

【14-Piece Replacement Set】Our outdoor chair cushions include 6 seat cushions and 8 back pillows (2 Corner Backrest Pillows + 6 Backrest Pillows) —designed specifically for 6-seat patio sectionals. An easy all-in-one solution to refresh your outdoor space without the hassle of mixing and matching. Please carefully measure your existing furniture before ordering to ensure proper fit.
DIY Tools
A mitre saw handles the angled cuts for a sectional frame; a standard 10-inch blade runs 2x stock without strain.
I would pair it with a palm sander and 80-grit paper to knock down saw marks before assembly, not after, when you are sanding between joints.
The pocket hole jig is what makes a clean frame possible: it drills the angled holes that hide screws on the back side of joints.
You will want exterior-rated pocket screws, not interior, or the coating fails and the joint rusts. Wood glue in each pocket before driving adds strength the screw alone does not give.
A cordless drill with clutch control drives both pocket and deck screws without stripping heads. Clamp each joint as you drill; the pocket hole pulls the pieces tight, but only if they start square.
A speed square at each corner checks that; racking in an L-frame happens when the base rectangle is off even a degree.
For a 6-foot couch, four 10-foot 2x6s and one more for the armrest is the core lumber. Add deck spindles for the back uprights and deck boards for the seat surface.
A router with flush-trim bit cleans edge-band if you cap the frame, though the 2×4 sectionals I would build skip that step and read clean enough without.

【1/2 INCH THICK BATTING FOR UPHOLSTERY & CUSHIONS】Achieve professional-grade plushness! This thick batting delivers a full 1/2 inch of high-loft support, making it the perfect cushion wrap for upholstery and furniture padding. Ideal for restoring couch cushions and chair seats to a like-new, luxurious feel.
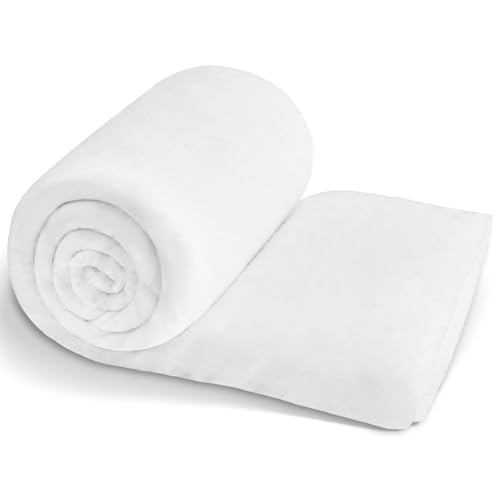
200 GSM Thickness: The elasticity of the wadding helps to maintain the shape of the fabric, preventing it from stretching out of shape with use.200 GSM Thickness made of 100% polyester, thicker and fuller batting for quilt. It can be cut. To Fill your furniture, cushions, etc more plump and full.

Premium Polyester Batting: Crafted from 100% polyester with an approximate thickness of 1/2 inch, this high-quality batting offers excellent durability, abrasion resistance, breathability, and quick-drying performance
Frequently Asked Questions
What materials do I need to build a DIY outdoor sectional?
A six-foot frame starts with five 10-foot 2x6s: four for the base and one for the armrest. I add deck spindles as back uprights and deck boards across the top for the sitting surface.
Exterior pocket screws, wood glue, and a pocket hole jig are what I reach for to keep the joints tight and clean. Add cushions and finish to complete the build.
How do I maintain my outdoor sectional?
Cedar and redwood stay warm-toned if you re-oil them once a year; let them be and they shift to weathered silver in about 2 summers.
For painted or sealed frames, check the cover fit before storm season, since a loose cover that billows wears against corners and lets moisture in.
Wipe cushions with mild soap and water when bare-leg season starts, especially light colors that soil at the edges.
Should I paint or stain my outdoor sectional?
Stain flexes with the wood so it won’t split at the seams the way paint does, and it saves you sanding time on the front end. A clear penetrating sealant guards the grain without hiding it.
In rainy areas, I lay it down first as insurance under whatever color coat follows. Pallet wood fights paint hard: tannins bleed through for 3 coats at minimum, and the joints will crack the film as they swell and shrink.